How to: Ice Bowl Centerpiece
Snowbird Style Entertaining
How to Make an Ice Bowl Centerpiece
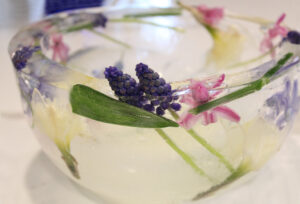
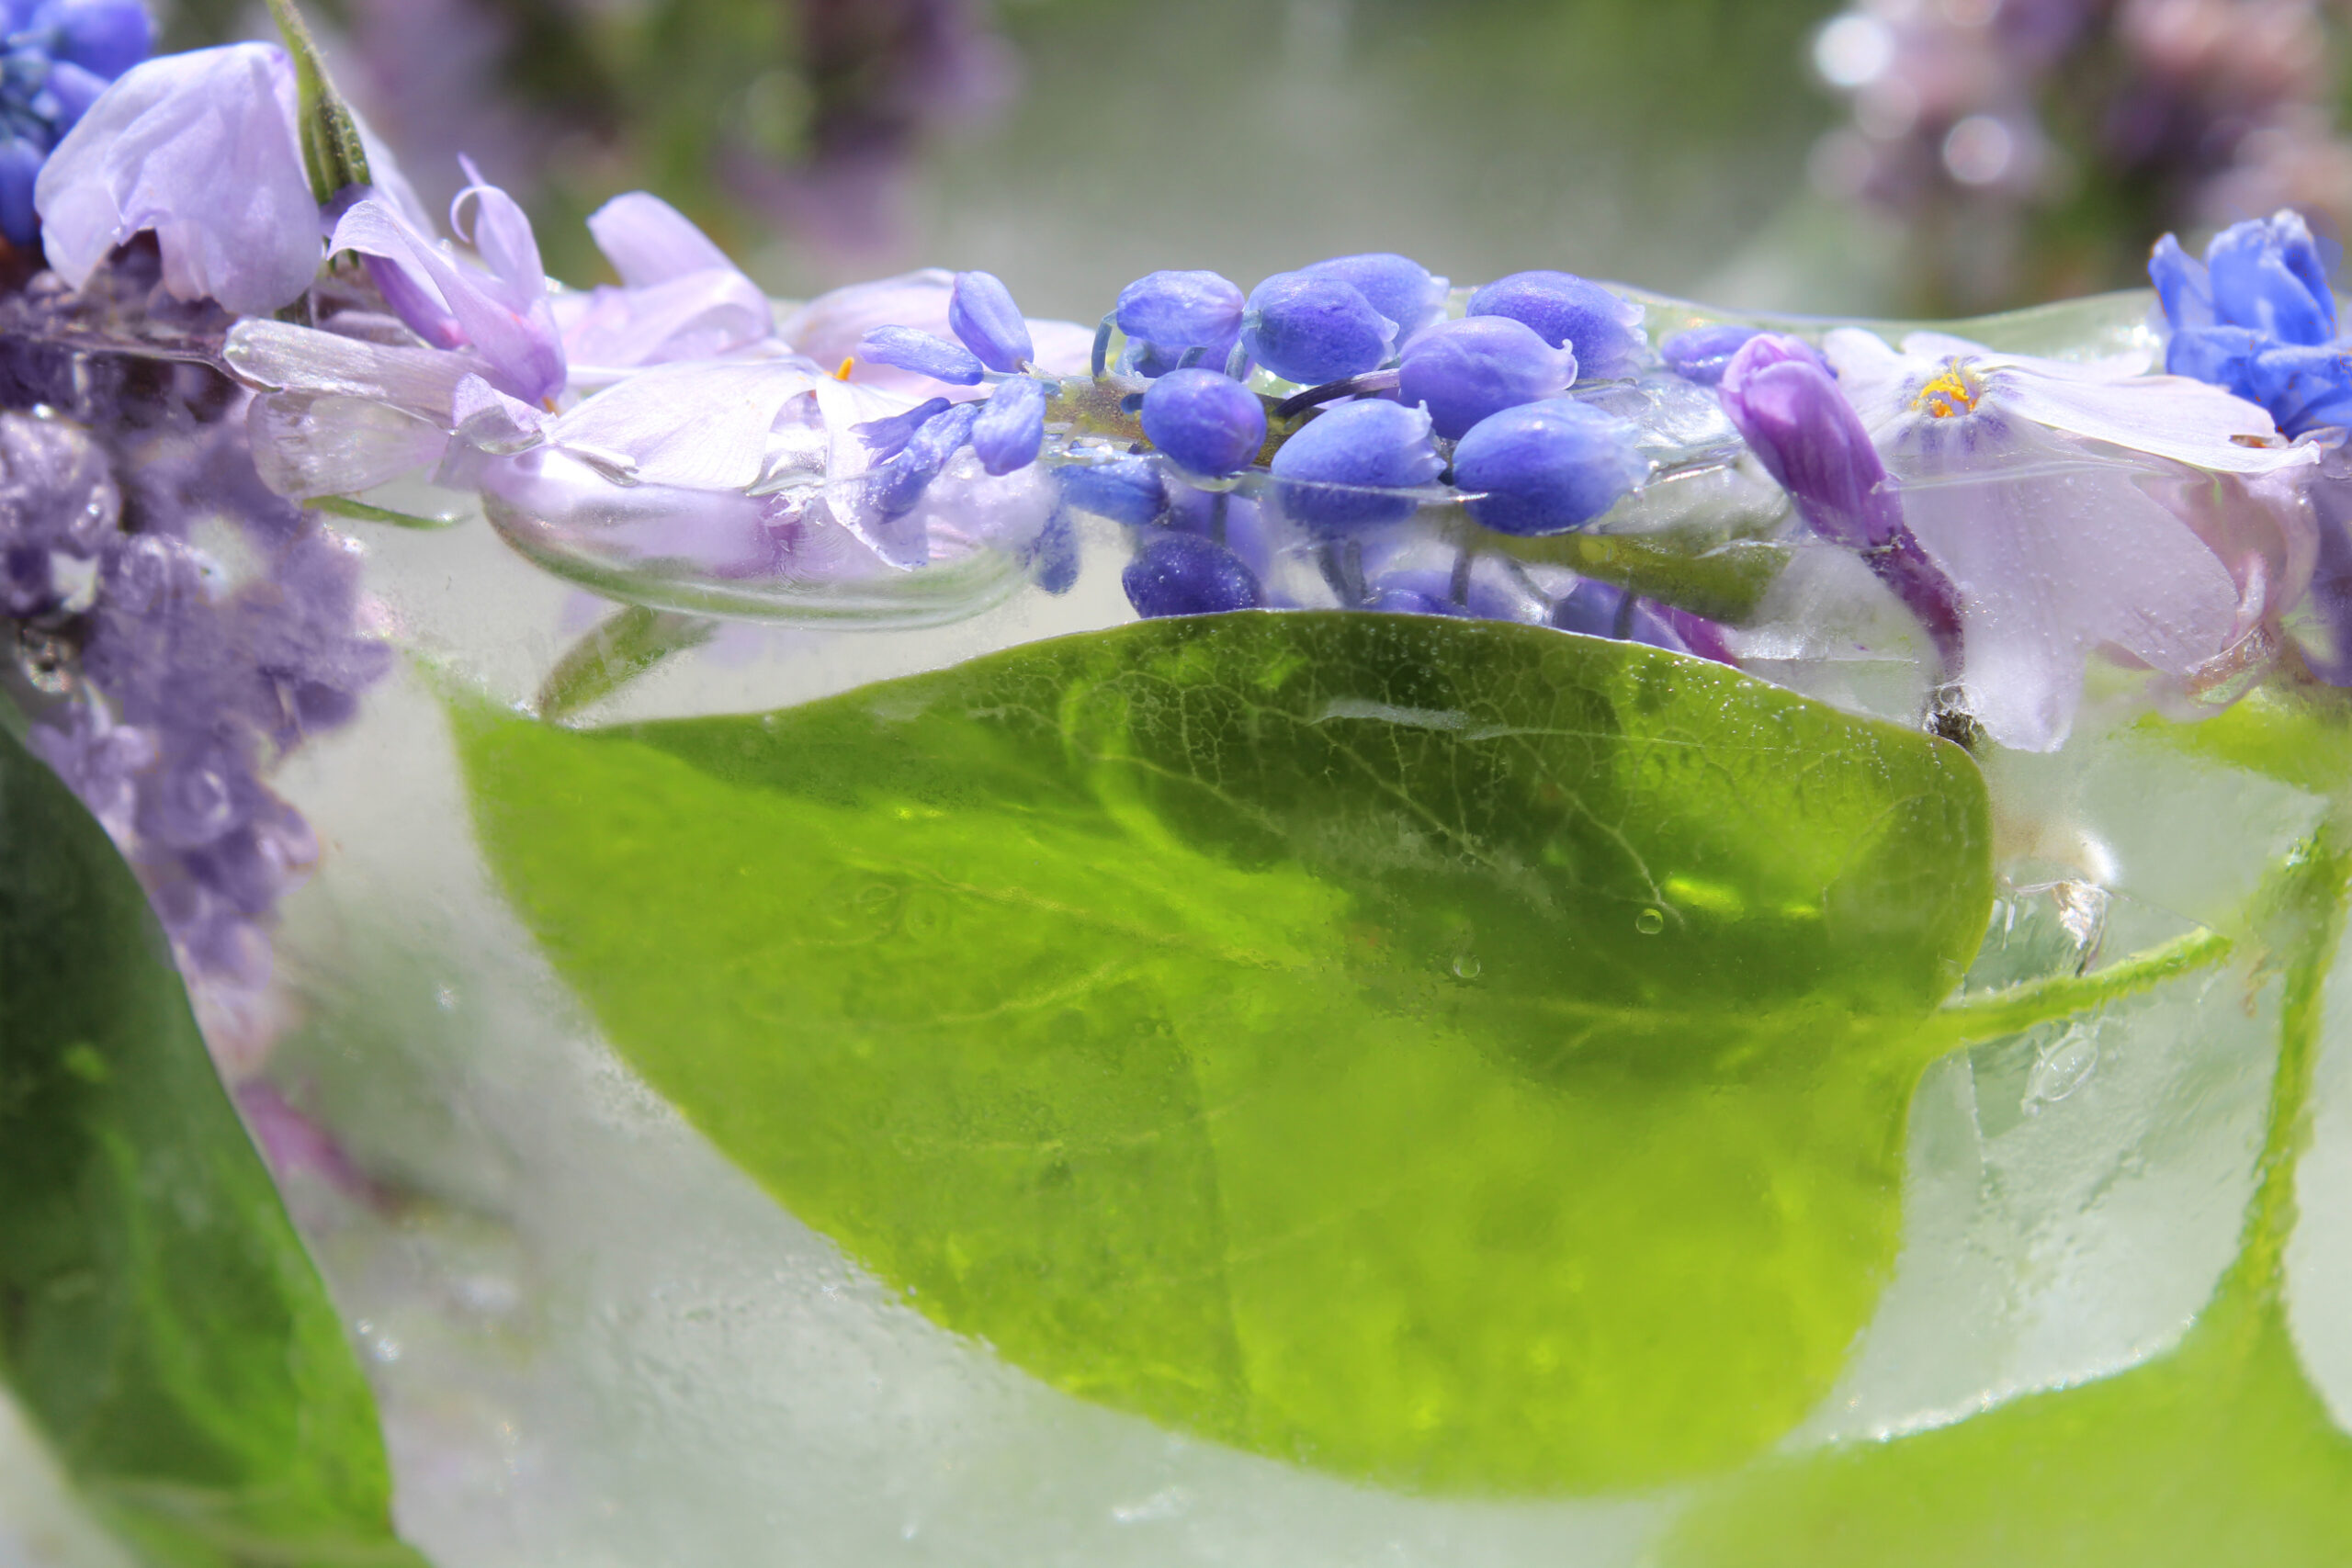
Ice bowls are a festive way to make a big impact for your snowbird style entertaining. Not only are they unique and beautiful, they're easy to make with items you already have. No special equipment is needed and it's a great way to prolong the life of your garden flowers, fruit and greens. Ice bowls are fun for all ages and abilities, and they make a very memorable gift or party feature.
Consider making an ice bucket cooler for New Year's Eve as a standout centerpiece. Ice bowls are also ideal for a cocktail party, brunch, holiday or celebration of any kind. Bottles, ice cubes or chilled appetizers such as shrimp cocktail are all lovely in an ice bowl.
Make your project days or a week ahead of time to reduce the last-minute time crunch, but keep in mind they don't last forever. When stored in the freezer, the ice will deteriorate over time, which is why ice bowls are rather impractical, yet individualized works of fleeting beauty. Allow at least twelve hours for the ice to freeze, especially for larger bowls.
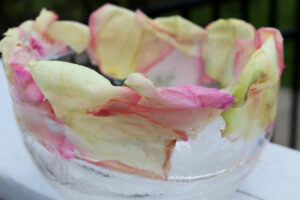
Practice truly does make perfect. Key considerations include removing any blemished parts of your flowers, citrus or greens because "what you see is what you get" and take care not to crack your ice bowl when removing it from the mold. The prettiest surprises are the flowers and fruits that pop out of the top of the bowl during the freezing process. Have fun with experimenting with sizes, shapes and uses for your ice bowl. Don't forget to photograph your creations, they truly are one-of-a-kind artworks.
You'll Need:
- A bottle that is fairly skinny (optional) and a bowl, container or waterproof carton that is larger than the bottle OR
- Two nesting bowls and a weight
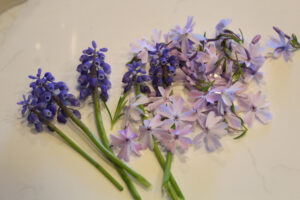
- Featured items, such as flowers, petals, greens, fruit
- Water
- Tape
- Space in your freezer
- A large flat bowl or plate to display the ice bucket
- A towel or cloth napkin to line the display
How to Make an Ice Bowl
-If you are freezing a bottle filled with alcohol, the alcohol will not freeze. If you are serving another type
of beverage, such as water or juice, use a clean empty bottle and don't fill it until just prior to displaying the ice bucket. The bottles really aren't practical for serving, they're more for visual effect than anything.
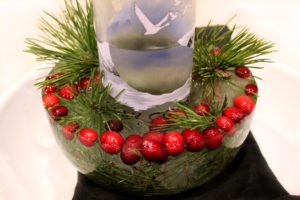
-Select and gather your choice of items to freeze. Thinly sliced citrus fruits such as oranges, lemons and limes work well. Cranberries are colorful and freeze nicely, but they will float to the top during the freezing process. Hearty leaves, greens, evergreens, petals and garden flowers are also excellent choices. If using evergreens, scale back the size so they aren't too unwieldly. Trim stems back a bit if more than a few inches long.
-Arrange your items in a bowl, container or orange juice carton with the top cut off. Smaller, flat items work better for lining the bottom of the bowl.
Variation One:
-Add a clean bottle. There should be plenty of space between the bottle and the container. Add water to the bowl, leaving at least an inch from the top of the container.
Variation Two:
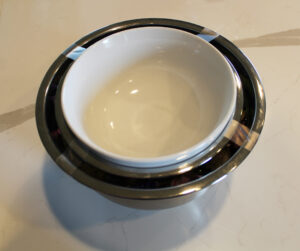
-Fill the bowl about half full of water. Place a smaller bowl within the larger one and use an object such as a smaller bowl to weight it down. Use tape to hold the top bowls in place so there's an even amount of space all the way around. Carefully add more water until there's about an inch from the top.
-Place entire ensemble into the freezer on a level shelf where it won't be disturbed.
-Allow at least twelve hours to freeze solid, especially for larger bowls.
-When ready to display, remove the container from the ice cooler by letting it sit out a few minutes. If you use water to loosen it up, be cautious you don't crack your ice bowl.
-Display on a flat bowl or plate with a cloth napkin or small towel underneath the ice bowl to catch the melting ice water.
-Take photos of your creations for lasting memories.
"Simplicity is the keynote of all true elegance"
--Coco Chanel, French fashion designer, Businesswoman
